
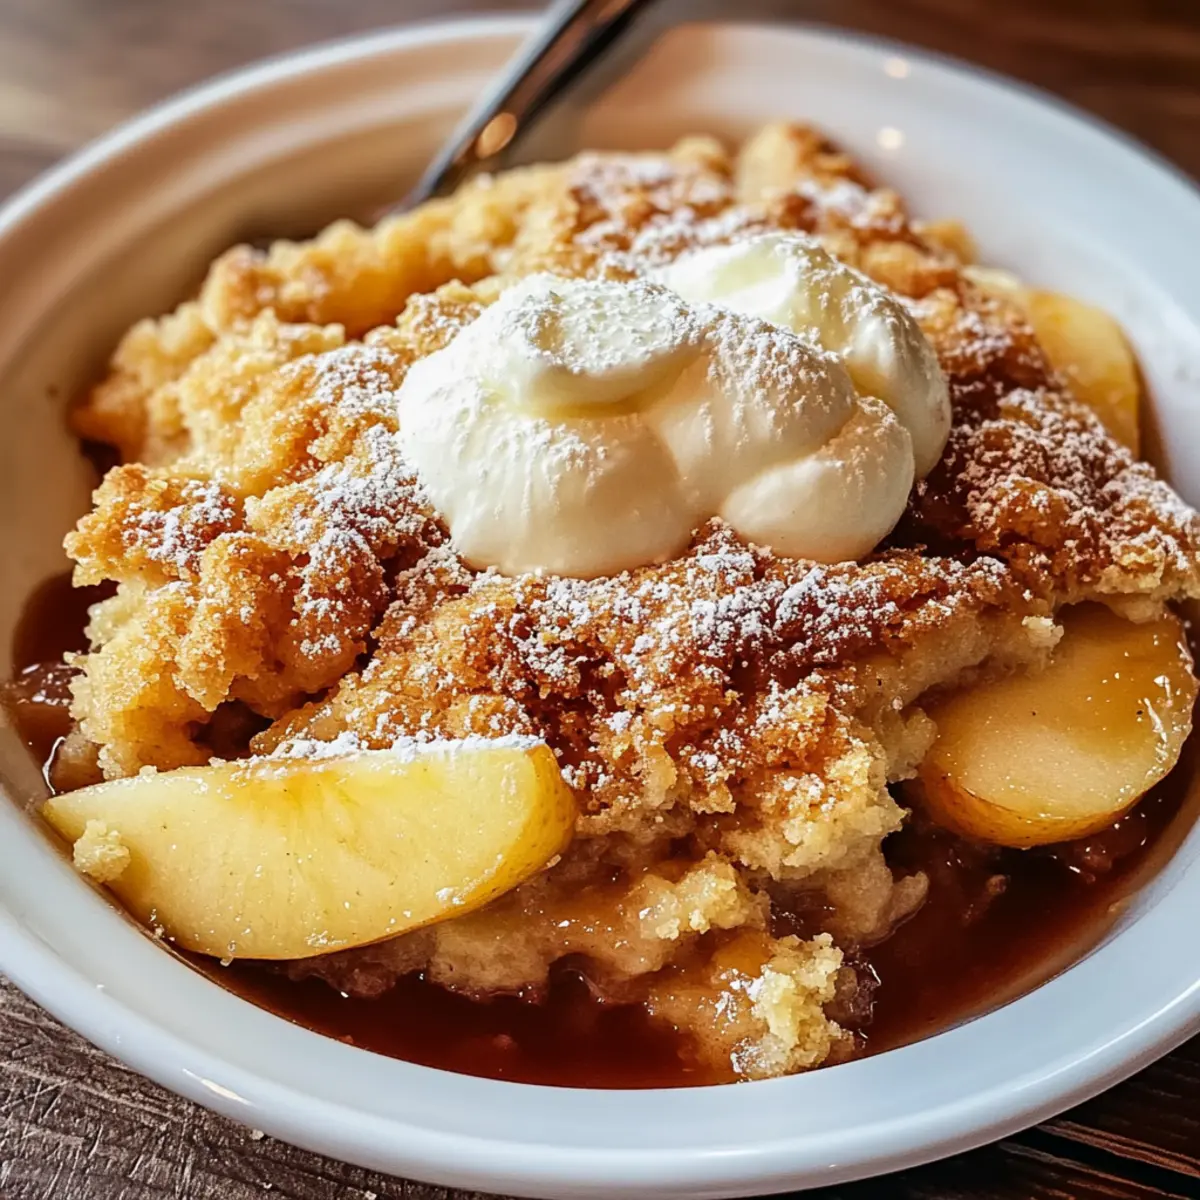
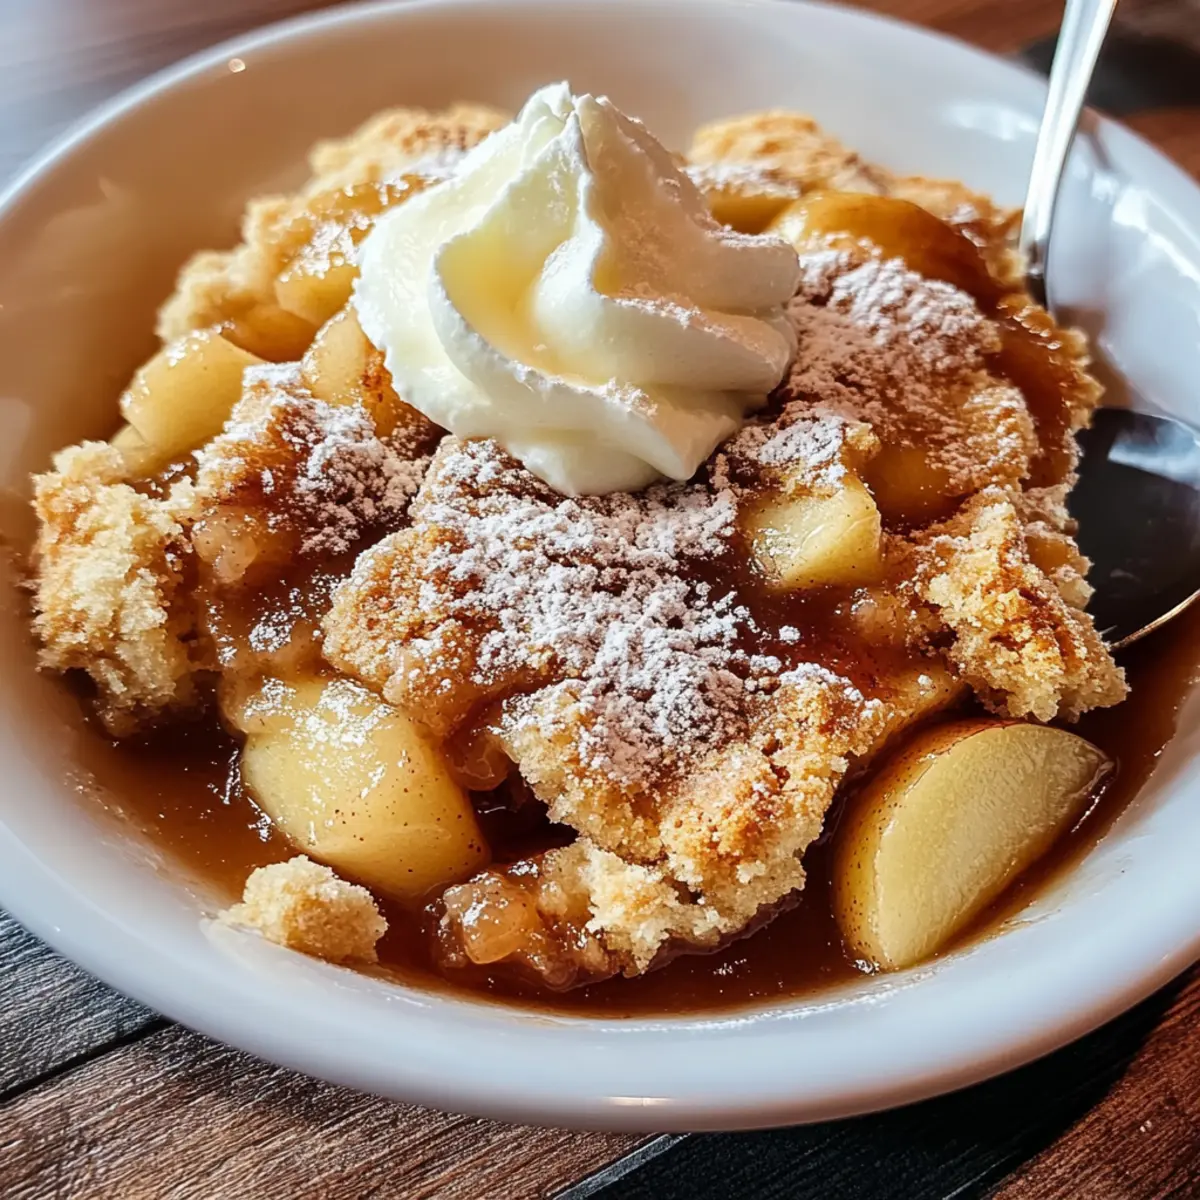
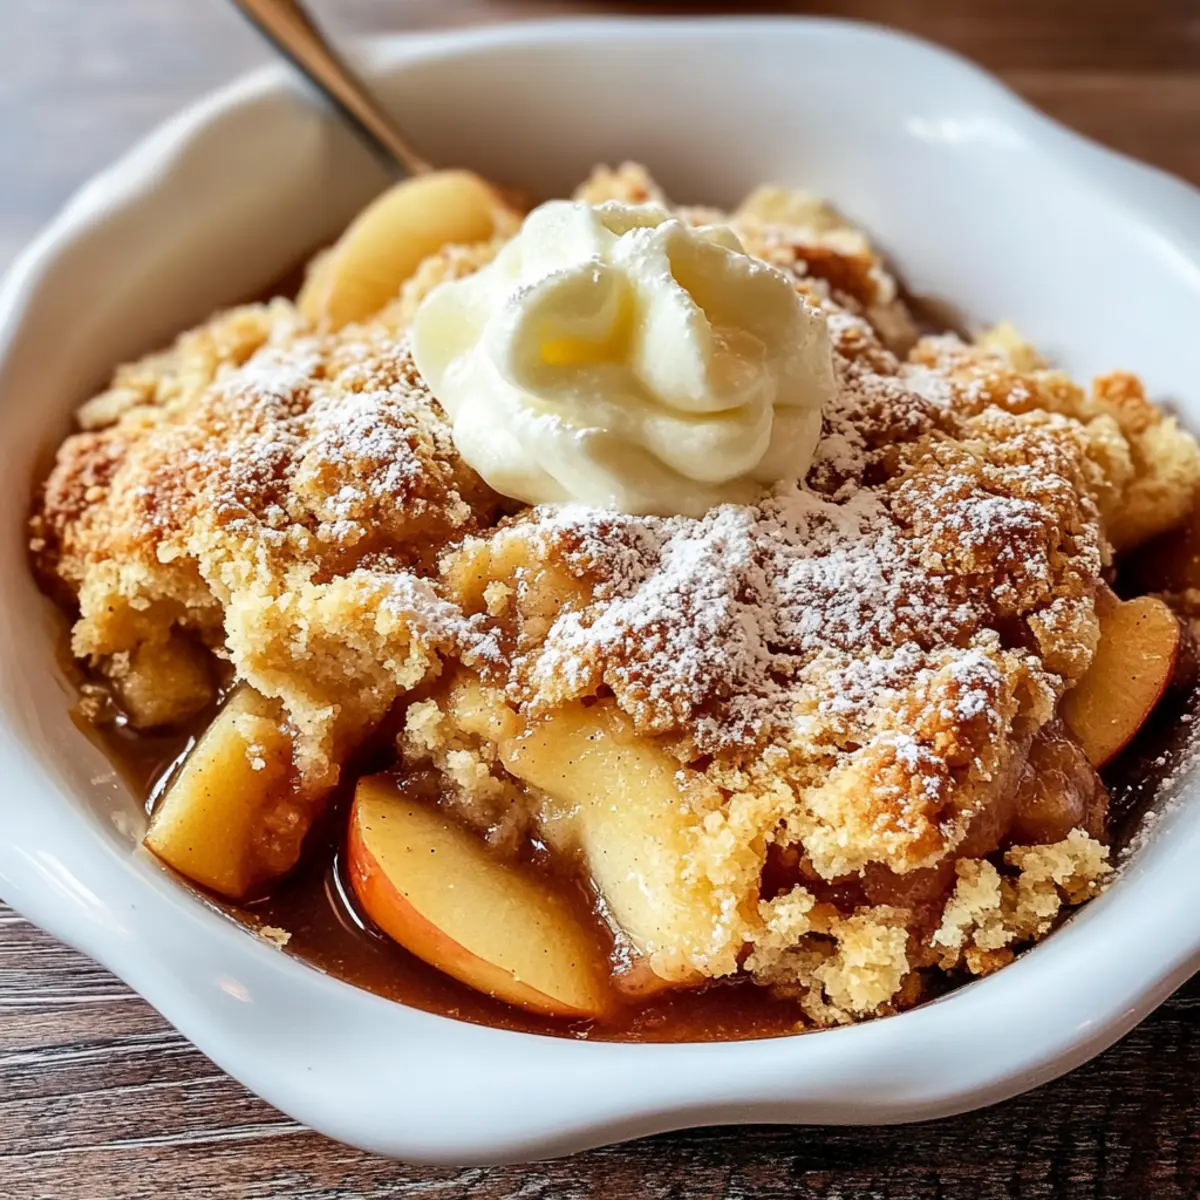
As the crisp autumn air settles in, the thought of cozy evenings spent in the kitchen warms my heart. One of my all-time favorite desserts that perfectly captures this season is homemade apple cobbler. Picture this: the sweet scent of cinnamon wafting through your home as tender, juicy apples bathe beneath a golden, buttery crust. It’s like wrapping yourself in a warm, spiced hug.
What I adore about this recipe is how beginner-friendly it is. With just a handful of ingredients and a straightforward process, you’ll be serving up a dish that’s not only impressive but also incredibly comforting. Whether it's a family gathering or a quiet evening at home, this apple cobbler is sure to delight. And for those who prefer gluten-free treats, fear not—I've got a simple swap so everyone can enjoy this crowd-pleaser. Dive into this recipe, and let’s bring that irresistible aroma into your own kitchen!
Why You'll Love This Homemade Apple Cobbler
Comforting, familiar tastes: This recipe evokes warm memories of childhood and family gatherings. Unexpectedly easy: With just a few simple steps, even beginner bakers can master this dessert. Customizable options: Feel free to mix in oats for a delicious crunch or swap apples for your favorite seasonal fruit. Gluten-free friendly: A quick substitution allows gluten-free dieters to indulge without sacrifice. Perfectly paired: Serve warm with vanilla ice cream for a truly decadent treat—trust me, your loved ones will be begging for seconds!
Homemade Apple Cobbler Ingredients
• Perfect for your comforting creation!
For the Filling
- Apples – Choose tart varieties like Granny Smith for a balanced flavor; use sweet ones like Honeycrisp for a sweeter treat.
- Granulated Sugar – Regular sugar adds sweetness; use coconut sugar as a healthier alternative if desired.
- Ground Cinnamon – One teaspoon to enhance the warm, cozy flavors; consider pumpkin pie spice for a fun twist.
- Ground Nutmeg – ½ teaspoon adds warmth; substitute with cloves for a unique taste.
- Lemon Juice – 2 tablespoons brighten the apple flavor; fresh juice is best, but bottled works in a pinch.
- All-Purpose Flour – Thickens the filling; swap with gluten-free flour blend for a gluten-free version.
For the Topping
- All-Purpose Flour – 1 cup gives structure to the topping; a gluten-free blend works too!
- Granulated Sugar – Another cup adds sweetness to the crust; coconut sugar can be a delicious alternative.
- Milk – 1 cup adds moisture; almond milk is a great dairy-free option.
- Unsalted Butter – ½ cup melted adds richness; coconut oil makes it dairy-free.
- Baking Powder – 1 teaspoon acts as a leavening agent for a fluffy topping.
- Salt – ¼ teaspoon balances flavors beautifully.
How to Make Homemade Apple Cobbler
-
Preheat: Start by preheating your oven to 375°F (190°C). This ensures an even bake, giving your cobbler that delightful golden crust.
-
Mix Apples: In a mixing bowl, toss the sliced apples with granulated sugar, cinnamon, nutmeg, lemon juice, and flour until the apples are well-coated. This will create a beautiful, flavorful filling that melds perfectly during baking.
-
Prepare Dish: Grease a 9x13 inch baking dish and transfer the apple mixture into it, spreading it evenly. This will serve as the sweet base for your cobbler.
-
Combine Topping Ingredients: In another bowl, whisk together the flour, sugar, baking powder, and salt. Then, stir in the milk and melted butter until the mixture is smooth and well-combined.
-
Pour Batter: Pour the batter over the apple mixture, ensuring it covers the apples completely. This layer will bake up into a delightful topping that melds with the apples below.
-
Bake: Place your cobbler in the preheated oven and bake for 45–50 minutes until the topping is golden brown and a toothpick inserted into it comes out clean. Your kitchen will smell amazing at this point!
-
Cool: Once baked, allow the cobbler to cool for about 10 minutes before serving. This helps set the filling and makes it easier to scoop!
Optional: Serve it warm with a scoop of vanilla ice cream for an extra special treat.
Exact quantities are listed in the recipe card below.
Expert Tips for Homemade Apple Cobbler
-
Choose the Right Apples: Use a mix of tart and sweet apples for a balanced flavor. Granny Smith paired with Honeycrisp enhances the overall taste.
-
Measure Ingredients Accurately: Precision matters! Too much flour can make the cobbler dense; avoid common mistakes by using a kitchen scale for the best results.
-
Avoid Overmixing: Gently stir the topping batter until just combined to keep it light and fluffy. Overmixing can lead to a tougher texture.
-
Keep an Eye on Baking Time: Each oven is different! Check around the 45-minute mark; you want a golden topping and tender apples for the best homemade apple cobbler experience.
-
Cool Before Serving: Let the cobbler rest for at least 10 minutes after baking. This helps thicken the filling and makes serving easier without losing shape.
What to Serve with Homemade Apple Cobbler?
Elevate your cozy dessert experience by pairing this delightful treat with perfect accompaniments.
- Vanilla Ice Cream: A classic pairing; the creamy texture melts beautifully atop the warm cobbler, creating a heavenly contrast.
- Caramel Sauce: Drizzle this rich, buttery sauce over your apple cobbler for a decadent flavor boost that enhances the sweetness.
- Whipped Cream: Light and airy, a dollop of freshly whipped cream adds a luxurious touch, making each bite even more indulgent.
- Toasted Almonds: Sprinkle toasted almonds for a crunchy contrast; they add a delightful nuttiness that complements the apples beautifully.
- Cinnamon Sugar Biscuits: Serve warm alongside to echo the comforting spices in your cobbler; it’s a delightful homage to classic flavors.
- Hot Tea or Coffee: A warm beverage brings it all together; choose a spiced chai or rich coffee to enhance the cozy vibe.
- Fresh Berries: A side of berries introduces a bright, tart element that balances the sweetness of the cobbler wonderfully.
- Milkshake: Pair with a thick vanilla or caramel milkshake for a nostalgic treat, adding a creamy richness that perfectly rounds out your dessert experience.
How to Store and Freeze Homemade Apple Cobbler
Fridge: Store leftovers in an airtight container for up to 3-4 days. This keeps the cobbler fresh and ready for your late-night cravings.
Freezer: For longer storage, freeze portions in airtight containers or freezer bags for up to 2-3 months. Make sure to label with the date for easy reference.
Reheating: To retain crispness, reheat slices in the oven at 350°F (175°C) for about 15-20 minutes. This revives that lovely golden topping!
Serving Tip: Best enjoyed warm, consider adding a scoop of ice cream or freshly whipped cream when serving your homemade apple cobbler after reheating.
Make Ahead Options
These Homemade Apple Cobbler preparations are perfect for busy home cooks looking to save time! You can prep the apple filling up to 24 hours in advance by mixing the sliced apples with sugar, cinnamon, nutmeg, lemon juice, and flour, then refrigerate it. Additionally, you can whip up the batter a day ahead and store it in the fridge. When you're ready to bake, simply combine the chilled filling and batter, and bake it for 45–50 minutes as directed. This way, you'll enjoy that delightful homemade taste with minimal effort, ensuring your cozy dessert is just as delicious as if it were freshly made!
Homemade Apple Cobbler Variations
Feel free to sprinkle your own magic on this delightful dessert!
-
Berry Twist: Substitute apples with mixed berries like blueberries or raspberries for a sweet, tart twist.
-
Peachy Keen: Swap out apples for ripe peaches to enjoy a peach cobbler bursting with juicy flavor.
-
Oat Topping: Mix rolled oats with sugar and melted butter for a deliciously crunchy topping that adds texture.
-
Nutty Add-In: Stir in chopped walnuts or pecans into the apple filling for a nutty crunch that complements the sweetness.
-
Spice it Up: Add a pinch of ginger or a dash of cardamom to the filling for an unexpected flavor boost that warms the soul.
-
Maple Delight: Replace granulated sugar with pure maple syrup for a rich, caramelized sweetness that transforms each bite.
-
Coconut-Infused: Use coconut milk instead of regular milk in the topping for a subtle coconut flavor that pairs beautifully with the apples.
-
Gluten-Free Goodness: Make this dessert gluten-free by opting for a gluten-free flour blend in both the filling and topping for a delicious alternative everyone can enjoy.
Homemade Apple Cobbler Recipe FAQs
What type of apples should I use for the filling?
Absolutely! For the best flavor, I recommend a mix of tart apples, like Granny Smith, and sweet ones, like Honeycrisp. This combination creates a lovely balance of flavors that will make your cobbler irresistible.
How should I store leftover apple cobbler?
For sure! Store any leftover cobbler in an airtight container in the refrigerator for up to 3-4 days. This keeps it fresh and tasty, perfect for those late-night dessert cravings!
Can I freeze homemade apple cobbler?
Yes, you can! If you want to save some for later, freeze individual portions in airtight containers for up to 2-3 months. Just make sure to label them with the date. When you're ready to enjoy it, simply reheat in the oven at 350°F (175°C) for about 15-20 minutes to revive the original crispiness.
What should I do if my cobbler topping comes out dense?
That’s an easy fix! If your topping turns out dense, it may have been overmixed. Stir the dry ingredients and wet ingredients gently until just combined. For next time, ensure you measure your flour correctly; using a kitchen scale can help avoid this issue.
Is there a gluten-free option for the cobbler?
Very! You can easily substitute all-purpose flour with a gluten-free flour blend. Just make sure it's a one-to-one replacement, and you'll have a delicious gluten-free version that everyone can enjoy.
Can pets eat homemade apple cobbler?
Not really! While apples are generally safe for pets, the sugar and spices in the cobbler (especially cinnamon and nutmeg) can be harmful. It’s best to keep this delightful dessert for yourself and opt for pet-safe snacks instead.
Irresistibly Cozy: Homemade Apple Cobbler for Beginners
Equipment
- 9x13-inch baking dish
Ingredients
For the Filling
- 6 cups Apples, sliced Tart varieties like Granny Smith recommended
- 1 cup Granulated Sugar Or coconut sugar as a healthier alternative
- 1 teaspoon Ground Cinnamon Pumpkin pie spice can be used
- ½ teaspoon Ground Nutmeg Substitute with cloves if desired
- 2 tablespoons Lemon Juice Fresh juice is best
- 2 tablespoons All-Purpose Flour Swap with gluten-free flour for gluten-free option
For the Topping
- 1 cup All-Purpose Flour A gluten-free blend can be used
- 1 cup Granulated Sugar Coconut sugar can also work
- 1 cup Milk Almond milk is a dairy-free option
- ½ cup Unsalted Butter, melted Coconut oil is a dairy-free alternative
- 1 teaspoon Baking Powder
- ¼ teaspoon Salt
Instructions
How to Make Homemade Apple Cobbler
- Preheat your oven to 375°F (190°C).
- In a mixing bowl, toss the sliced apples with granulated sugar, cinnamon, nutmeg, lemon juice, and flour until well-coated.
- Grease a 9x13 inch baking dish and transfer the apple mixture into it, spreading it evenly.
- In another bowl, whisk together the flour, sugar, baking powder, and salt. Then stir in the milk and melted butter until smooth.
- Pour the batter over the apple mixture, ensuring it covers the apples completely.
- Bake for 45–50 minutes until the topping is golden brown and a toothpick inserted comes out clean.
- Allow the cobbler to cool for about 10 minutes before serving.


Leave a Reply