Introduction
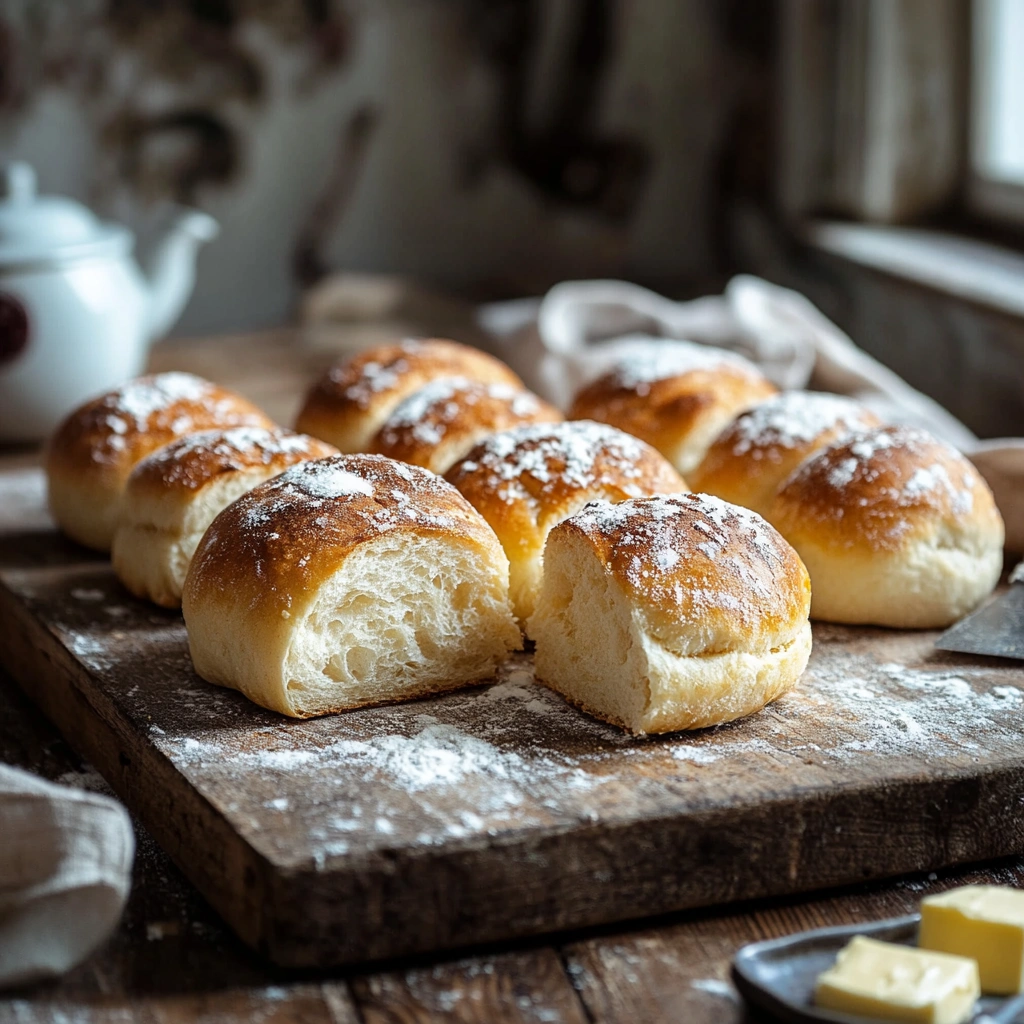
If you've ever walked into a bakery and been greeted by the irresistible aroma of freshly baked bread, you know the joy that a warm roll can bring. And when it comes to soft, fluffy, and perfectly crusted bread, few can compete with the classic Kaiser roll. With its origins tracing back to Vienna, Austria, Kaiser rolls have become a beloved staple in many countries around the world. Whether you're making them for burgers, sandwiches, or simply enjoying them with a bit of butter, these rolls promise a delectable experience that’s both comforting and satisfying. In this blog post, we'll guide you through the process of making Kaiser Rolls Recipe, ensuring that you create soft, fluffy, and perfectly golden rolls every time.
Why You’ll Love Kaiser Rolls Recipe
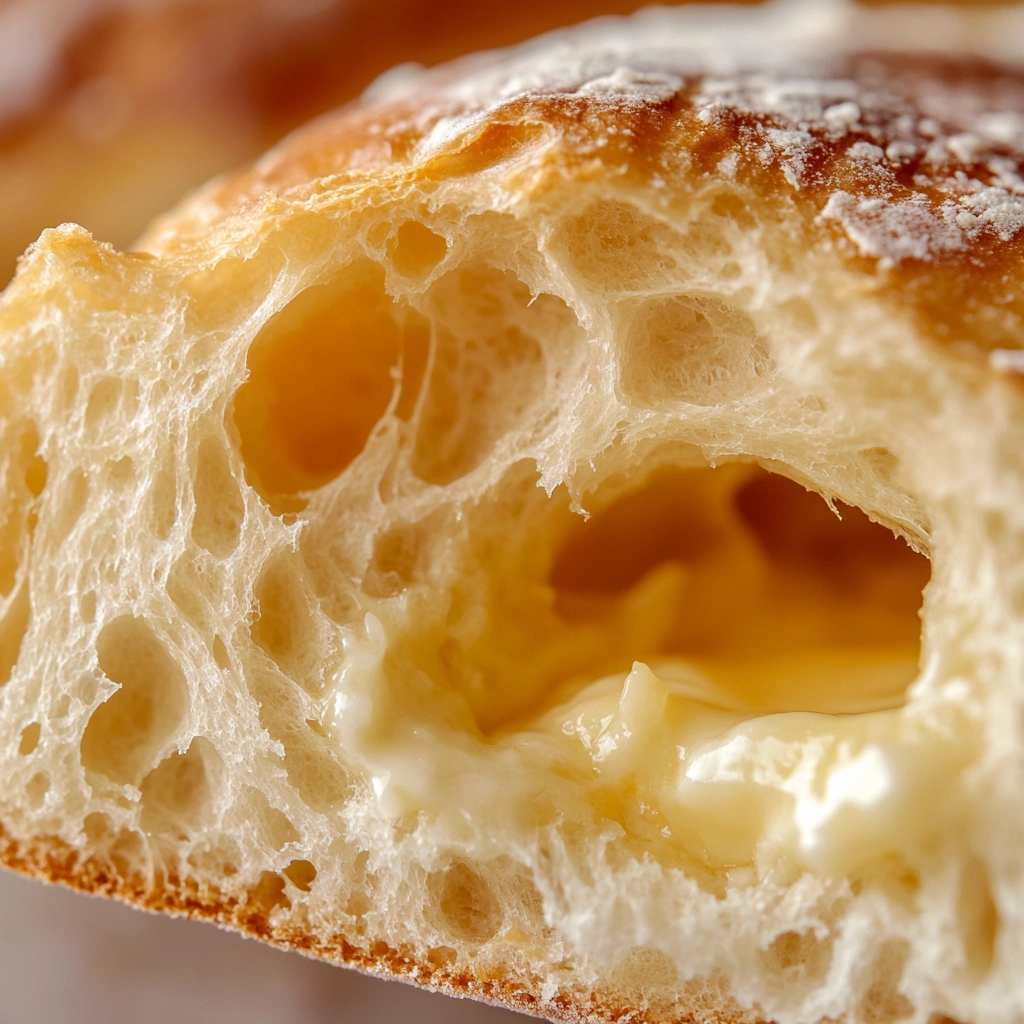
Kaiser rolls are the epitome of balance in a bread recipe. They have a soft and airy crumb on the inside, while their exterior boasts a thin, slightly crunchy crust that adds texture without being overly hard. The dough is slightly enriched with butter, which gives it a subtle richness. What makes these rolls even more appealing is their versatility—they can be paired with a variety of fillings, from savory meats to sweet spreads. Additionally, making them at home allows you to enjoy the satisfaction of fresh, homemade bread without the preservatives and additives found in store-bought versions.
Ingredients
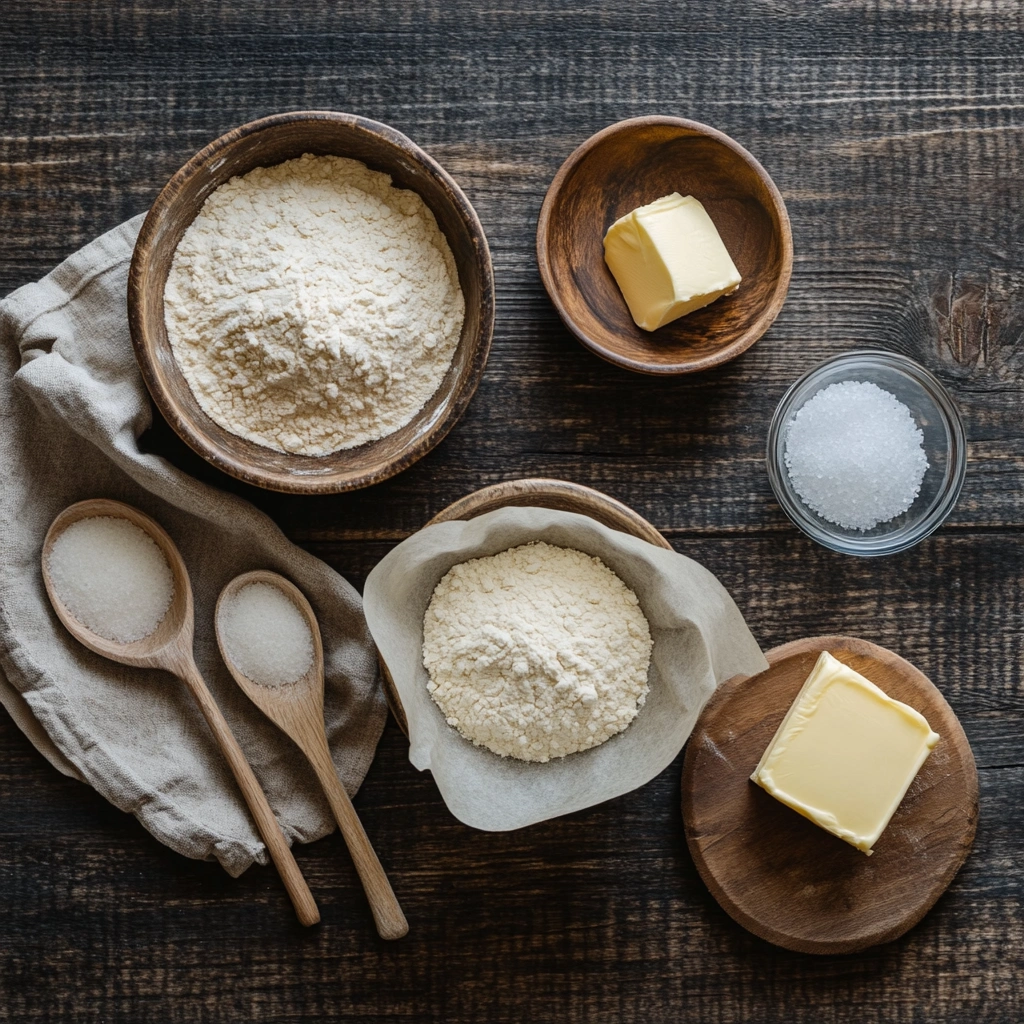
To make perfect Kaiser rolls, you'll need a few basic ingredients. Here’s what you’ll need:
- 3 ½ cups all-purpose flour (for the ideal texture)
- 1 packet active dry yeast (or 2 ¼ teaspoons)
- 1 tablespoon sugar (to activate the yeast)
- 1 ¼ cups warm water (about 110°F, perfect for yeast activation)
- 2 tablespoons unsalted butter (adds richness to the dough)
- 1 teaspoon salt (balances the flavors)
- 1 tablespoon vegetable oil (for greasing the bowl)
- 1 egg (for brushing the rolls before baking)
- Cornmeal (optional, for sprinkling on the baking sheet)
Necessary Tools for Kaiser Rolls Recipe
To successfully bake these Kaiser rolls, you’ll need the following tools:
- Large mixing bowl (for combining the ingredients)
- Whisk (for mixing the yeast and sugar with warm water)
- Dough hook or hands (for kneading the dough)
- Baking sheet (to bake the rolls)
- Parchment paper or silicone baking mat (for non-stick baking)
- Sharp knife or razor blade (for scoring the tops of the rolls)
- Pastry brush (for brushing the egg wash on the rolls)
- Kitchen towel (to cover the dough while it rises)
Ingredient Swaps and Additions
While the traditional Kaiser roll recipe is already quite perfect, there are a few ingredient swaps and additions you can experiment with:
- Whole wheat flour: Swap a portion of the all-purpose flour with whole wheat flour for a heartier roll with extra fiber.
- Olive oil: For a slightly different flavor, you can replace vegetable oil with olive oil.
- Milk: For a richer dough, substitute water with milk to add a slight creaminess.
- Herbs and seeds: If you’re feeling adventurous, sprinkle some sesame seeds, poppy seeds, or dried herbs (such as rosemary or thyme) on top of the rolls before baking to add more flavor and texture.
Step-by-Step Instructions
- Activate the yeast: In a small bowl, combine the warm water, sugar, and yeast. Stir gently and let the mixture sit for about 5 minutes, until it becomes frothy. This is crucial as it indicates the yeast is alive and active.
- Make the dough: In a large mixing bowl, combine the flour and salt. Once the yeast mixture is ready, pour it into the flour mixture. Add the melted butter and stir with a wooden spoon until a dough forms.
- Knead the dough: Turn the dough onto a lightly floured surface and knead for about 10 minutes, until the dough is smooth and elastic. Alternatively, you can use a stand mixer fitted with a dough hook to knead the dough on medium speed for about 5-6 minutes
- Shape the rolls: Punch down the dough and divide it into 8 equal portions. Shape each portion into a round ball and then flatten it slightly. Use your fingers to create a star-like pattern in the center of each roll, just as traditional Kaiser rolls are formed.
- Second rise: Place the shaped rolls on a baking sheet lined with parchment paper, spacing them about 2 inches apart. Cover with the kitchen towel and let them rise for another 45 minutes to an hour, or until they’ve puffed up.
- Preheat the oven: While the rolls rise, preheat your oven to 375°F (190°C).
- Add the finishing touch: Before baking, brush the tops of the rolls with a beaten egg to give them a glossy, golden finish. If desired, sprinkle a little cornmeal on the baking sheet for extra texture.
- Bake: Place the rolls in the oven and bake for 20-25 minutes, or until they are golden brown on top. The rolls should sound hollow when tapped on the bottom, which is a sign they are fully cooked.
- Cool: Remove the rolls from the oven and let them cool on a wire rack before serving.
Pro Tips for Success of Kaiser Rolls Recipe
- Proper yeast activation: Always ensure your yeast is activated by letting it foam up in warm water before mixing it with the flour. If it doesn’t foam, the yeast might be expired.
- Don’t rush the rising process: Patience is key. Let the dough rise properly for the best texture and flavor.
- Score the rolls: Use a sharp knife or razor blade to score the top of the rolls in a star shape before baking. This helps the rolls bake evenly and adds a traditional touch.
- Watch the oven: Every oven is different, so keep an eye on the rolls to avoid over-baking them.
Serving Suggestions
Kaiser rolls are perfect for making sandwiches, and their soft and fluffy texture pairs wonderfully with various fillings. Here are a few ideas:
- Classic deli sandwich: Layer your Kaiser roll with fresh deli meats, cheese, and vegetables for a hearty sandwich.
- Burger buns: Use them as burger buns for an upscale twist on your next BBQ.
- Egg salad: Spread a generous amount of creamy egg salad between two slices for a satisfying lunch.
- Breakfast sandwich: Fill the rolls with scrambled eggs, bacon, and cheese for a delicious breakfast sandwich.
Storing and Reheating Kaiser Rolls Recipe
Kaiser rolls are best enjoyed fresh, but they can be stored for a few days if needed.
- Storing: Keep the rolls in an airtight container at room temperature for up to 3 days. To keep them fresh longer, you can freeze them.
- Reheating: To reheat, wrap the rolls in foil and place them in a preheated oven at 350°F (175°C) for about 5-7 minutes. Alternatively, you can warm them in a toaster oven.
Nutritional Information
Each Kaiser roll contains approximately:
- Calories: 160-180
- Carbohydrates: 30g
- Protein: 4g
- Fat: 3g
- Fiber: 1g
- Sugar: 2g
- Sodium: 250mg
FAQs - Kaiser Rolls Recipe
- Can I use whole wheat flour for these rolls? Yes, you can substitute some of the all-purpose flour with whole wheat flour for a heartier, healthier version.
- How do I make Kaiser rolls more crispy? For a crisper crust, you can spray the rolls with water before baking or place a pan of water in the oven to create steam.
- Can I use a bread machine for this recipe? Absolutely! You can use a bread machine to knead the dough and even for the first rise. Just shape the rolls after the dough cycle is complete.
- How long do these rolls stay fresh? They stay fresh for up to 3 days at room temperature and can be frozen for longer storage.
- Can I make the dough in advance? Yes, you can refrigerate the dough overnight. Just let it come to room temperature before shaping and baking.
Conclusion
Homemade Kaiser rolls are a treat that will elevate any meal, from sandwiches to burgers. With the right ingredients, some patience, and a few helpful tips, you can create soft, fluffy, and delicious rolls in your own kitchen. Whether you’re serving them for a casual dinner or a special occasion, these Kaiser rolls are sure to impress.


Leave a Reply