Introduction
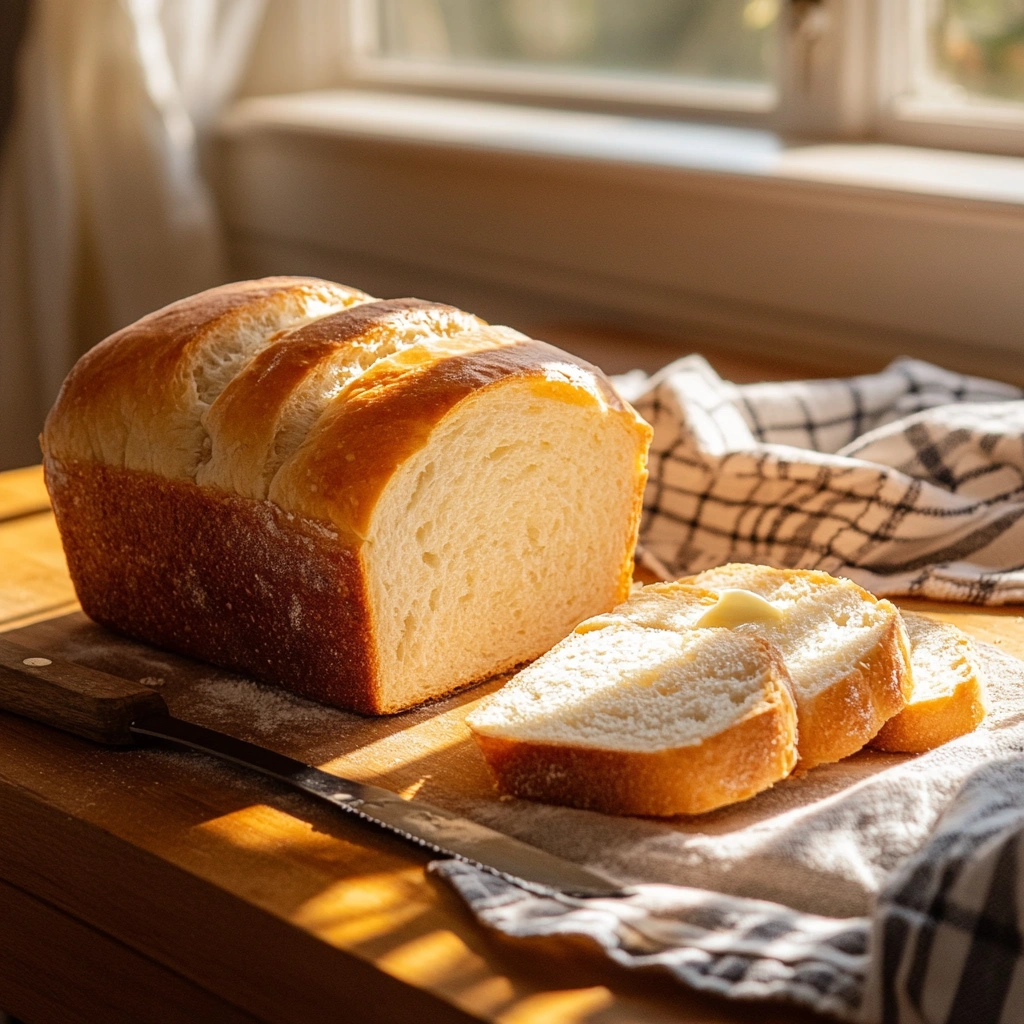
Are you tired of store-bought gluten-free bread that’s dry, crumbly, and lacking flavor? If so, it's time to make your own gluten-free sandwich bread right at home! This simple and satisfying recipe will give you a soft, airy loaf with the perfect texture for sandwiches, toast, or even a snack on its own. Gluten-free bread can often be a challenge, but with this recipe, you'll get a beautifully risen, flavorful loaf that's perfect for any meal.
Whether you're gluten-sensitive, following a gluten-free diet, or simply looking for a healthier alternative, homemade gluten-free bread can easily become a staple in your kitchen. Plus, when you bake it yourself, you have complete control over the ingredients, ensuring that you get a nutritious and delicious product every time.
So, roll up your sleeves and get ready to bake a loaf of gluten-free sandwich bread that’s sure to impress!
Why You’ll Love Gluten-Free Sandwich Bread
There are many reasons why this gluten-free sandwich bread recipe is one you'll want to keep in your recipe rotation. Here are just a few:
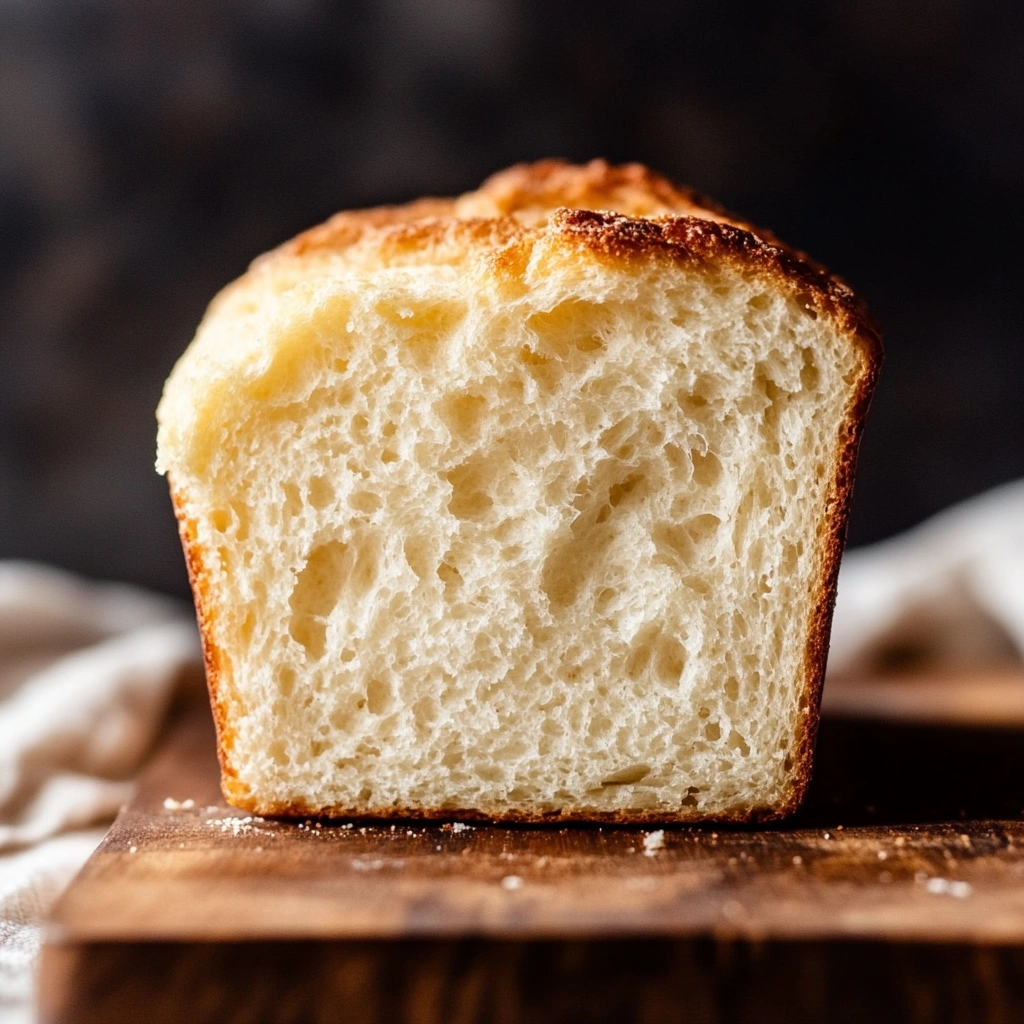
- Soft and Light Texture: This bread has a soft, fluffy crumb that’s perfect for making sandwiches or enjoying with your favorite spreads.
- Simple Ingredients: Unlike some gluten-free recipes that require hard-to-find ingredients, this bread uses common pantry staples that are easy to work with.
- Customizable Flavor: Feel free to adjust the flavor by adding herbs, seeds, or spices. You can even make it a sweet bread by adding a touch of cinnamon or honey.
- No Weird Aftertaste: Many gluten-free breads have a strange aftertaste due to the use of rice flour or other starches. This recipe balances the flavors perfectly to give you a delicious, neutral taste that goes with anything.
- Perfect for Meal Prep: Make a batch at the beginning of the week and enjoy fresh bread throughout the week. It’s great for sandwiches, French toast, and more.
Ingredients
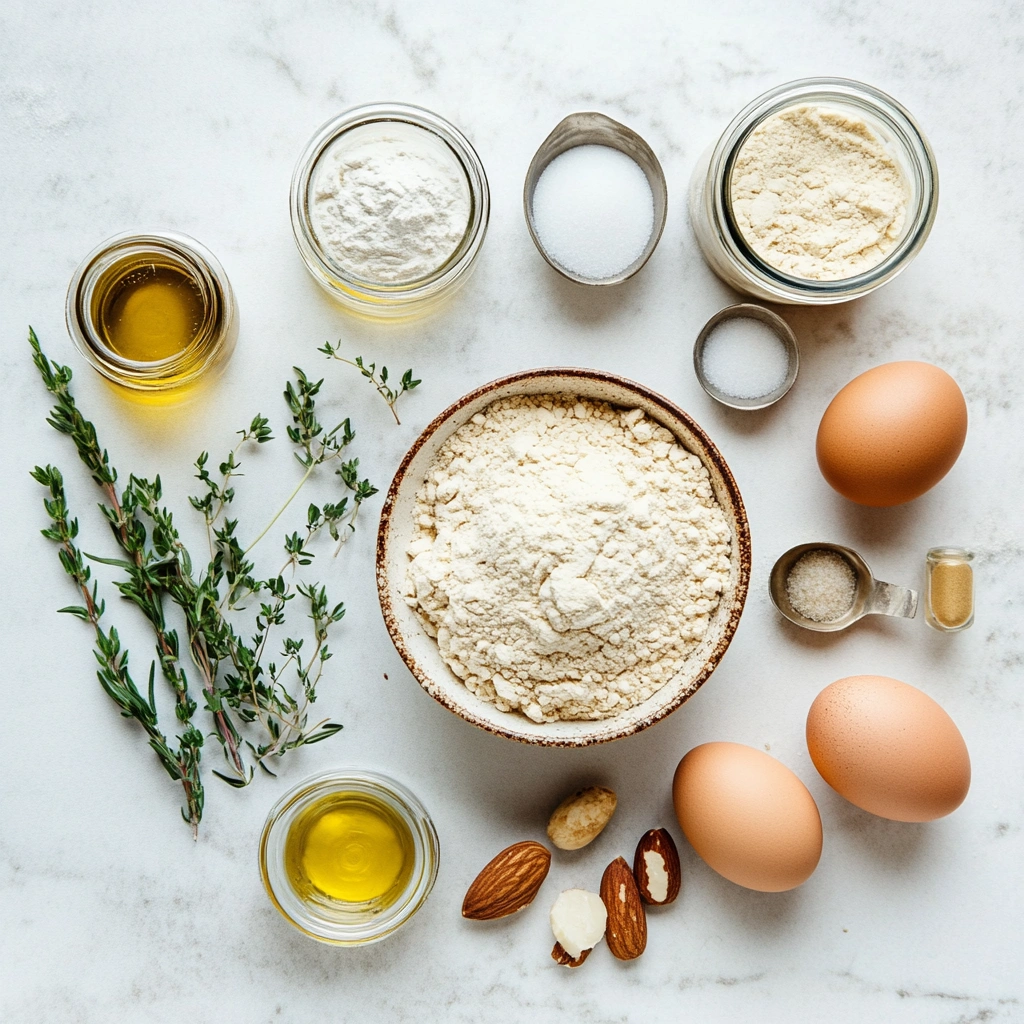
To make your gluten-free sandwich bread, you’ll need the following ingredients:
- 2 cups gluten-free all-purpose flour blend (ensure it contains xanthan gum)
- ¼ cup almond flour (adds moisture and a slight nuttiness)
- 1 teaspoon salt
- 1 tablespoon sugar (or honey, if you prefer)
- 1 packet active dry yeast (2 ¼ teaspoons)
- 1 cup warm water (about 110°F or 43°C)
- 2 tablespoons olive oil (or melted butter)
- 2 large eggs (room temperature)
- 1 tablespoon apple cider vinegar (helps with texture and rise)
- ½ teaspoon baking powder (for additional rise)
Necessary Tools for Gluten-Free Sandwich Bread
Before you get started, make sure you have the following tools:
- A large mixing bowl
- A whisk or hand mixer
- A 9x5-inch loaf pan (greased or lined with parchment paper)
- A kitchen towel or plastic wrap (for covering the dough)
- A small saucepan (optional, for warming the water)
- A spatula for folding the dough
- A cooling rack for the finished bread
Ingredient Swaps and Additions
One of the joys of baking is the ability to customize your recipes. Here are some potential ingredient swaps and additions:
- Flour Swap: If you don’t have a gluten-free all-purpose flour blend, you can try making your own blend using a combination of rice flour, potato starch, and tapioca flour.
- Dairy-Free Option: Substitute the eggs with flax eggs (1 tablespoon flaxseed meal + 3 tablespoons water = 1 egg) and replace the butter with a plant-based oil like coconut oil or olive oil for a dairy-free version.
- Sweetness: For a sweeter loaf, you can add an additional tablespoon of honey or maple syrup to the dough.
- Flavor Additions: Experiment by adding a tablespoon of sunflower seeds, chia seeds, or dried herbs like rosemary for extra flavor and texture.
- Bread with a Crunch: If you prefer a slightly crunchy crust, add a tablespoon of cornmeal to the bottom of your loaf pan before placing the dough in.
Step-by-Step Instructions
Follow these steps carefully for a successful gluten-free sandwich bread:
- Activate the Yeast: In a small bowl, combine the warm water and sugar. Sprinkle the yeast over the top, then stir gently. Let it sit for about 5-10 minutes until it becomes frothy.
- Prepare the Dry Ingredients: In a large mixing bowl, whisk together the gluten-free all-purpose flour, almond flour, salt, and baking powder. This helps ensure that the dry ingredients are evenly distributed.
- Combine Wet Ingredients: Once the yeast has activated, add the olive oil, eggs, and apple cider vinegar to the yeast mixture. Stir to combine.
- Mix the Dough: Slowly add the wet ingredients to the dry ingredients. Use a spatula or hand mixer on low speed to mix everything together until a thick, sticky dough forms. The dough should be a little thicker than a traditional bread dough but still spreadable.
- First Rise: Transfer the dough to your greased loaf pan and smooth the top with a spatula. Cover the pan with a kitchen towel or plastic wrap. Let the dough rise in a warm place for 45-60 minutes, or until it has doubled in size.
- Preheat the Oven: While the dough is rising, preheat your oven to 375°F (190°C). Position the rack in the center of the oven.
- Bake the Bread: Once the dough has risen, place the loaf in the preheated oven. Bake for 30-35 minutes or until the top is golden brown and the bread sounds hollow when tapped on the bottom.
- Cool the Bread: Remove the bread from the oven and let it cool in the pan for 10 minutes. Then, transfer it to a cooling rack to cool completely before slicing.
Pro Tips for Success
- Don’t Overmix: Overmixing the dough can cause the bread to be dense. Mix just until everything is combined.
- Ensure Proper Yeast Activation: Make sure the water is warm, not hot, to activate the yeast. If it’s too hot, it can kill the yeast, and if it’s too cold, the yeast won’t activate properly.
- Give It Time to Rise: Gluten-free bread dough doesn’t rise as quickly as regular dough. Be patient and allow it to rise fully for the best results.
Serving Suggestions for Gluten-Free Sandwich Bread
- Classic Sandwiches: Use your gluten-free sandwich bread for a classic peanut butter and jelly sandwich, turkey and cheese, or a veggie sandwich with hummus and fresh greens.
- Avocado Toast: Top a slice of this bread with mashed avocado, a sprinkle of salt, pepper, and a drizzle of olive oil for a delicious breakfast or snack.
- Bread for Soup: Serve this bread alongside your favorite soups or stews for a satisfying meal.
Storing and Reheating
- Storing: After the bread has completely cooled, store it in an airtight container at room temperature for up to 4 days. For longer storage, wrap it tightly in plastic wrap and freeze for up to 3 months.
- Reheating: To reheat, wrap slices in a damp paper towel and microwave for 20-30 seconds. Alternatively, toast slices in a toaster or oven for a crisp texture.
Nutritional Information
- Calories: 120 kcal per slice (1/12 of loaf)
- Carbohydrates: 18g
- Protein: 4g
- Fat: 4g
- Fiber: 2g
- Sugar: 1g
- Sodium: 150mg
FAQs - Gluten-Free Sandwich Bread
- Can I make this recipe vegan? Yes! Use flax eggs and replace the butter with a dairy-free alternative like coconut oil.
- Why is my gluten-free bread dense? This can happen if the dough hasn’t risen enough or if it was overmixed. Be sure to follow the instructions carefully and allow enough time for the dough to rise.
- Can I add seeds to the bread? Absolutely! You can fold in sunflower seeds, chia seeds, or flax seeds to the dough before baking for extra texture and flavor.
- Can I use a different flour blend? Yes, but make sure to choose a gluten-free flour blend that contains xanthan gum or another binding agent.
- Can I freeze the bread? Yes, you can freeze the loaf or individual slices. Wrap them tightly in plastic wrap and place them in a freezer bag.
Conclusion
Making gluten-free sandwich bread at home is not only rewarding but also ensures that you're enjoying a soft, flavorful loaf that’s free from preservatives and artificial ingredients. With this easy-to-follow recipe, you can enjoy freshly baked bread anytime you want. Don’t forget to get creative with your toppings and fillings, and share this recipe with others who are looking for delicious gluten-free options.


Leave a Reply