Introduction
Baking homemade bread has been a cherished tradition for centuries, and with good reason. There’s something incredibly satisfying about creating a warm, fresh loaf of bread with your own hands. Among the different varieties of bread you can bake, Artisan Artesano Bread stands out for its rich flavor, soft texture, and golden crust. This recipe is not just for seasoned bakers; even beginners can dive into the world of bread-making with confidence.
In this comprehensive guide, you will learn how to make Artisan Artesano Bread from scratch. We’ll walk you through each step, from gathering ingredients to shaping and baking the dough. Whether you’re a bread-making enthusiast or a newbie looking for a delightful and reliable recipe, this bread will quickly become your go-to favorite.
Why You’ll Love Artisan Artesano Bread
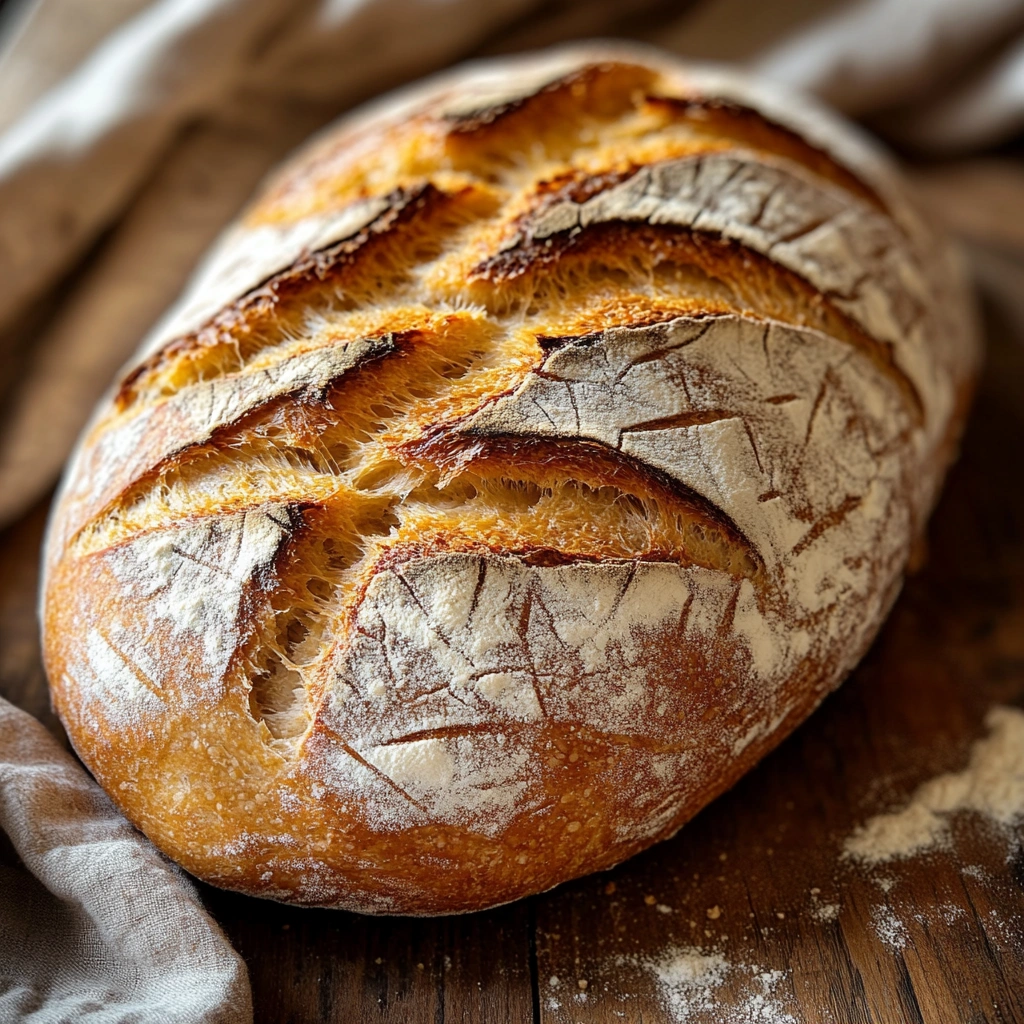
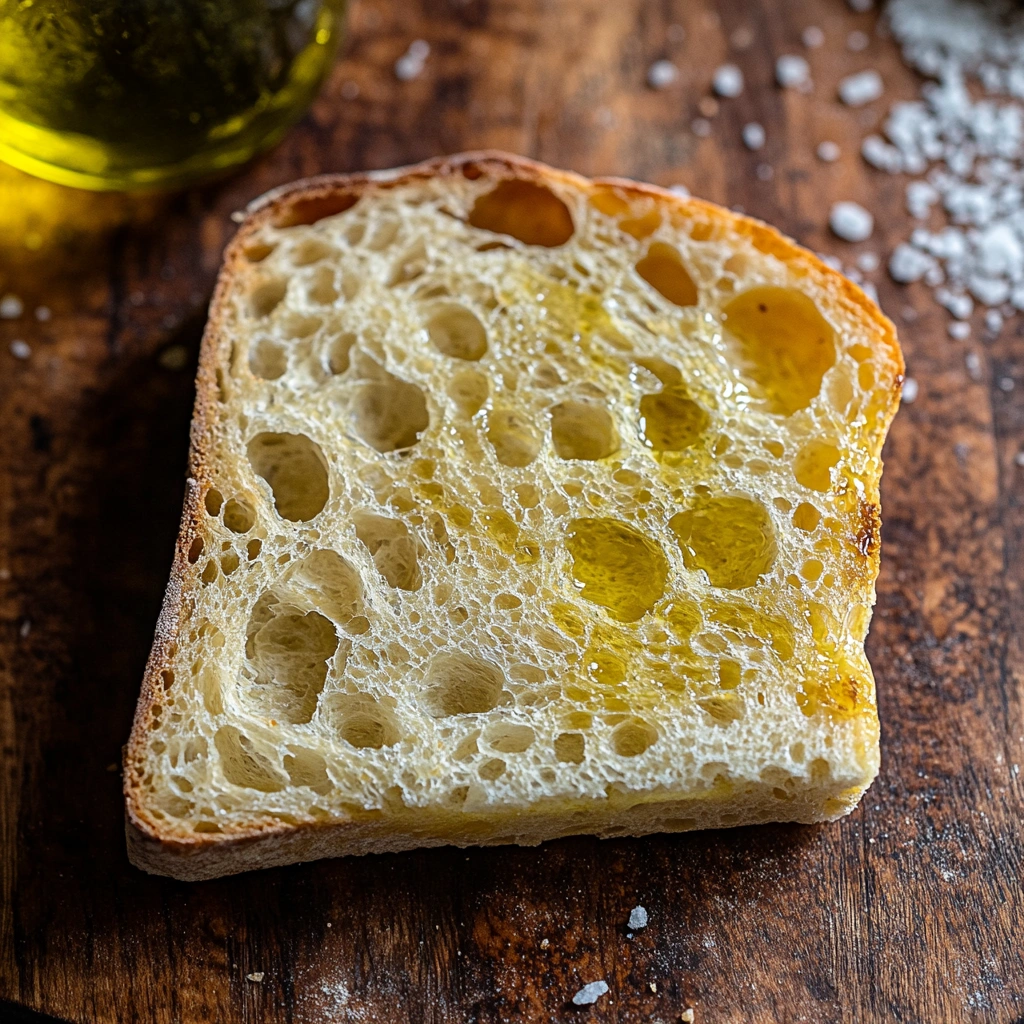
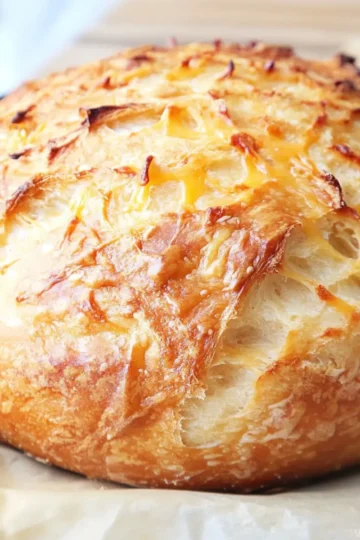
What makes Artisan Artesano Bread so irresistible? It’s a perfect balance of simplicity and sophistication. The dough is soft and slightly sweet, with a moist crumb that melts in your mouth. The bread’s crust is golden brown and slightly crisp, providing a satisfying contrast to the soft, airy interior.
This recipe is highly versatile, meaning you can tweak it to suit your preferences. Whether you’re looking for a bread to accompany soups and stews, to make the perfect sandwich, or simply enjoy on its own with butter, this Artesano bread will elevate any meal.
Not to mention, this recipe offers the satisfaction of baking bread with your own hands and the bonus of filling your home with an irresistible aroma. Baking your own bread also allows you to control every ingredient, ensuring your loaf is made with care and love.
Ingredients
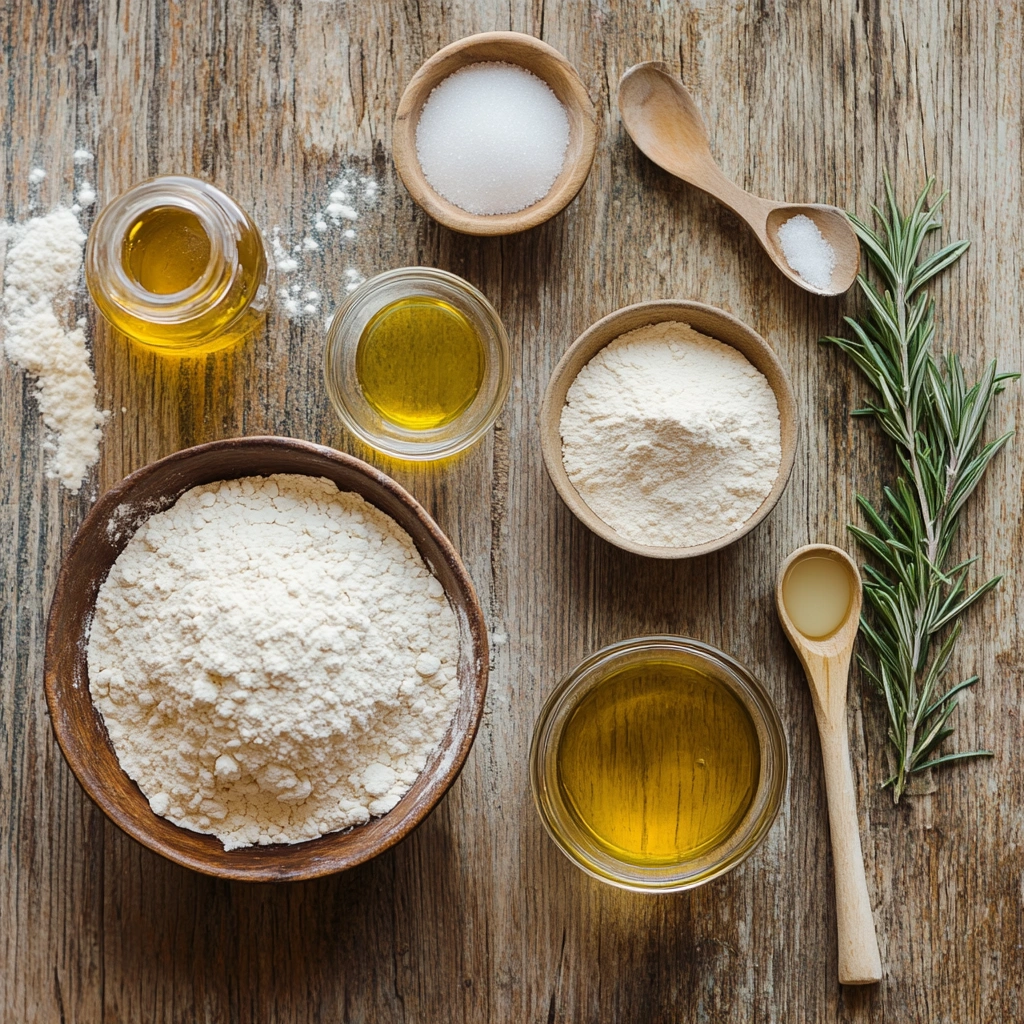
To make the perfect Artisan Artesano Bread, you'll need the following ingredients:
- 3 ½ cups of all-purpose flour (or bread flour for a chewier texture)
- 1 teaspoon of salt
- 1 ½ teaspoons of sugar (optional for sweetness)
- 1 tablespoon of olive oil or melted butter
- 2 teaspoons of active dry yeast
- 1 ¼ cups of warm water (about 110°F/45°C)
- 1 tablespoon of honey (optional, for a hint of sweetness)
- 1 tablespoon of vinegar (to help the dough rise)
Necessary Tools
Before you start, make sure you have these essential tools ready:
- A large mixing bowl
- A wooden spoon or dough hook
- A clean kitchen towel or plastic wrap
- A baking sheet or loaf pan
- A sharp knife or bread lame (for scoring)
- A pastry brush (optional for brushing the top with butter or egg wash)
- A cooling rack
Ingredient Swaps and Additions for Artisan Artesano Bread
This Artisan Artesano Bread recipe is flexible, allowing you to make a few substitutions or additions to match your personal preferences:
- Flour: If you prefer a healthier option, you can use whole wheat flour or a blend of all-purpose and whole wheat flour. Keep in mind that whole wheat flour may require slightly more water.
- Sweeteners: Instead of sugar or honey, you can experiment with agave syrup, maple syrup, or coconut sugar for a different flavor profile.
- Fat: You can swap olive oil with vegetable oil or melted coconut oil for a richer flavor. Using butter will give the bread a slightly richer, more indulgent taste.
- Flavorings: Try adding herbs (like rosemary or thyme), garlic powder, or even grated cheese to the dough to customize your Artisan Artesano bread.
Step-by-Step Instructions
Step 1: Activating the Yeast
Begin by activating your yeast. In a small bowl, combine the warm water (about 110°F/45°C) with the sugar and yeast. Stir gently and let it sit for about 5-10 minutes, until the mixture becomes frothy. This indicates that the yeast is active and ready to work its magic.
Step 2: Mixing the Dough
In a large mixing bowl, combine the flour and salt. Add the activated yeast mixture, olive oil (or butter), and honey (if using) to the flour. Use a wooden spoon to stir the ingredients together until a rough dough forms. If the dough feels too sticky, gradually add more flour, a tablespoon at a time, until it comes together.
Step 3: Kneading the Dough
Once the dough has formed, turn it out onto a lightly floured surface and begin kneading. Knead the dough for about 8-10 minutes, or until it becomes smooth and elastic. If you have a stand mixer, you can use the dough hook attachment to knead the dough for about 6-7 minutes.
Step 4: First Rise
Shape the dough into a ball and place it in a lightly oiled bowl. Cover the bowl with a kitchen towel or plastic wrap and let it rise in a warm place for about 1-2 hours, or until it doubles in size.
Step 5: Shaping the Dough
After the dough has risen, punch it down to release the air bubbles. Turn it out onto a floured surface and shape it into a round or oval loaf. If you’re using a loaf pan, simply place the shaped dough inside the pan. For a more traditional look, you can place the loaf on a baking sheet.
Step 6: Second Rise
Cover the dough with a towel and let it rise again for 30-60 minutes, or until it has nearly doubled in size.
Step 7: Baking the Bread
Preheat your oven to 375°F (190°C). If you prefer a crustier loaf, you can place a small pan of water in the oven to create steam while the bread bakes. Score the top of the loaf with a sharp knife to allow it to expand during baking.
Bake the bread for 30-35 minutes, or until the loaf is golden brown on top and sounds hollow when tapped on the bottom.
Step 8: Cooling
Remove the bread from the oven and allow it to cool on a wire rack for at least 30 minutes before slicing. This helps set the texture of the bread and ensures the crumb remains soft and airy.
Pro Tips for Success
- Check the Water Temperature: If the water is too hot, it can kill the yeast. If it’s too cold, the yeast won’t activate properly. The ideal temperature is between 100°F and 110°F.
- Don’t Rush the Rising Time: Give the dough plenty of time to rise. The slower the rise, the more flavor develops.
- Scoring the Bread: Scoring your bread before baking not only creates a beautiful aesthetic but also helps control how the bread expands as it bakes.
- Use a Baking Stone: For an even crust, consider baking your loaf on a preheated baking stone or pizza stone.
Serving Suggestions for Artisan Artesano Bread
Artisan Artesano Bread is incredibly versatile and can be served in a variety of ways:
- For Sandwiches: This bread is perfect for making delicious sandwiches. Try it with turkey, lettuce, and avocado, or classic ham and cheese.
- With Soup: Pair it with a warm bowl of tomato soup, creamy chowder, or chicken noodle soup. The bread's soft, chewy texture is perfect for dipping.
- With Butter or Jam: Serve it simply with a pat of butter or a dollop of your favorite jam for a delightful breakfast or snack.
Storing and Reheating
To store your Artisan Artesano Bread, let it cool completely, then wrap it in a clean kitchen towel and store it in a bread box or a paper bag for up to 3 days. For longer storage, slice the bread and freeze it in an airtight bag for up to 3 months. To reheat, wrap the slices in foil and warm in the oven at 350°F (175°C) for about 10 minutes.
Nutritional Information
- Serving Size: 1 slice (about 1/12 of the loaf)
- Calories: 150
- Carbohydrates: 30g
- Protein: 4g
- Fat: 2g
- Fiber: 1g
- Sugar: 2g
FAQs - Artisan Artesano Bread
1. Can I make Artisan Artesano Bread without yeast?
No, yeast is necessary for the dough to rise and give the bread its texture. You could try a sourdough version, but it would require a starter.
2. Can I add herbs to the dough?
Yes, feel free to add herbs like rosemary, thyme, or garlic to the dough for extra flavor.
3. Can I make this bread in a bread machine?
Yes, this recipe can be adapted for a bread machine. Simply follow the manufacturer's instructions, but use the same ingredients and steps.
4. Why is my bread dense?
Dense bread can result from under-kneading, not allowing enough time for rising, or using too much flour. Make sure to follow the steps carefully.
5. Can I use whole wheat flour?
Yes, you can substitute up to half of the all-purpose flour with whole wheat flour. Be aware that it may change the texture slightly.
Conclusion
Baking Artisan Artesano Bread is an immensely rewarding experience that will fill your home with the aroma of freshly baked bread. This recipe yields a soft, slightly sweet, and golden loaf perfect for sandwiches, soups, or just enjoying on its own. With a few simple ingredients and some patience, you’ll soon be enjoying delicious homemade bread that rivals the best artisanal bakeries.


Leave a Reply