Introduction
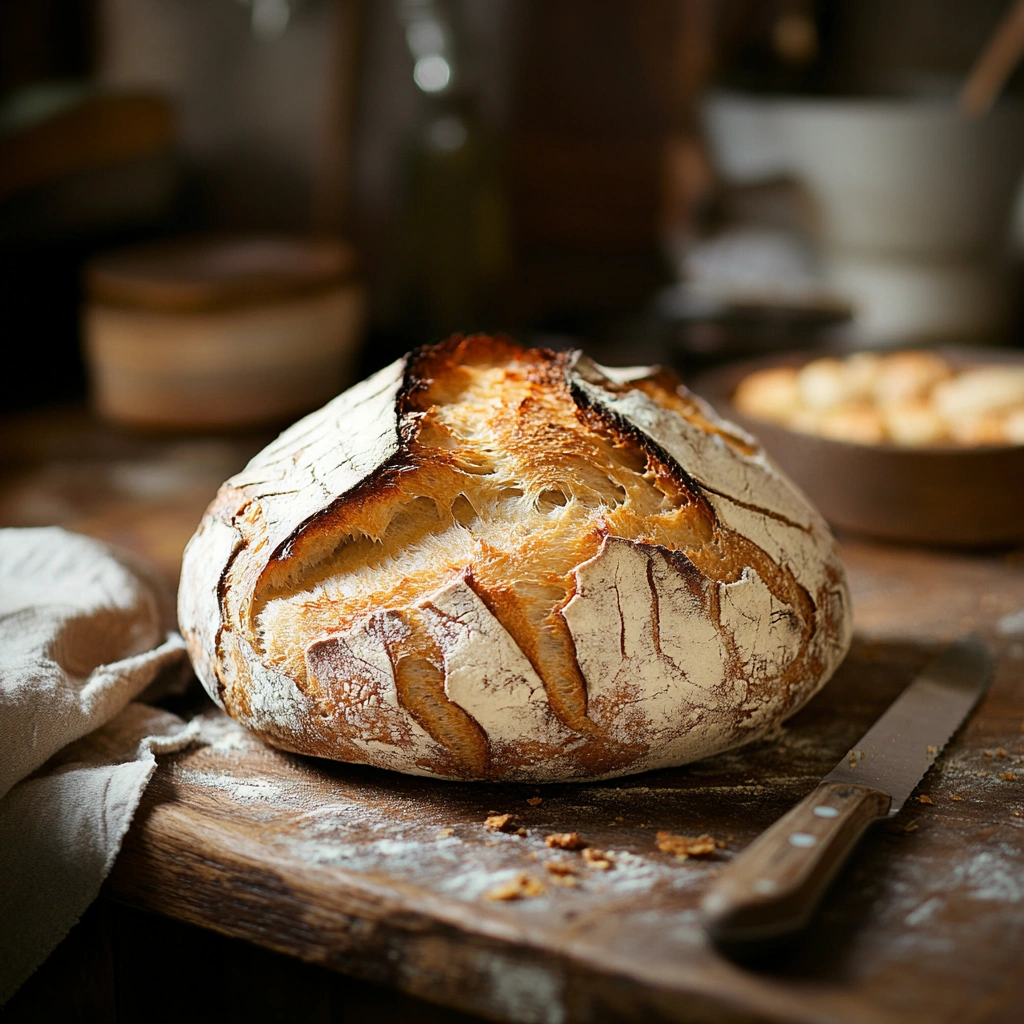
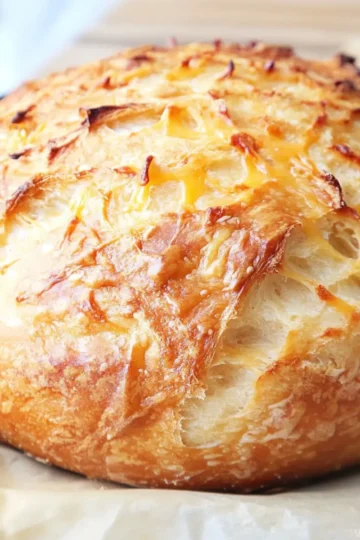
Baking sourdough bread from scratch is an art, one that yields a deliciously tangy, perfectly crusted loaf that’s both rustic and refined. If you're tired of store-bought bread and want to elevate your baking game, sourdough is a fantastic choice. It’s made with natural yeast and bacteria, giving it an unforgettable depth of flavor. Not only is it more flavorful, but it’s also a healthier option thanks to the fermentation process.
In this article, we’ll take you through every step of making the perfect sourdough bread—from creating your starter to baking a beautifully golden loaf. Whether you’re a beginner or a seasoned baker, this detailed guide will help you master sourdough bread with confidence and precision.
Why You’ll Love Sourdough Bread
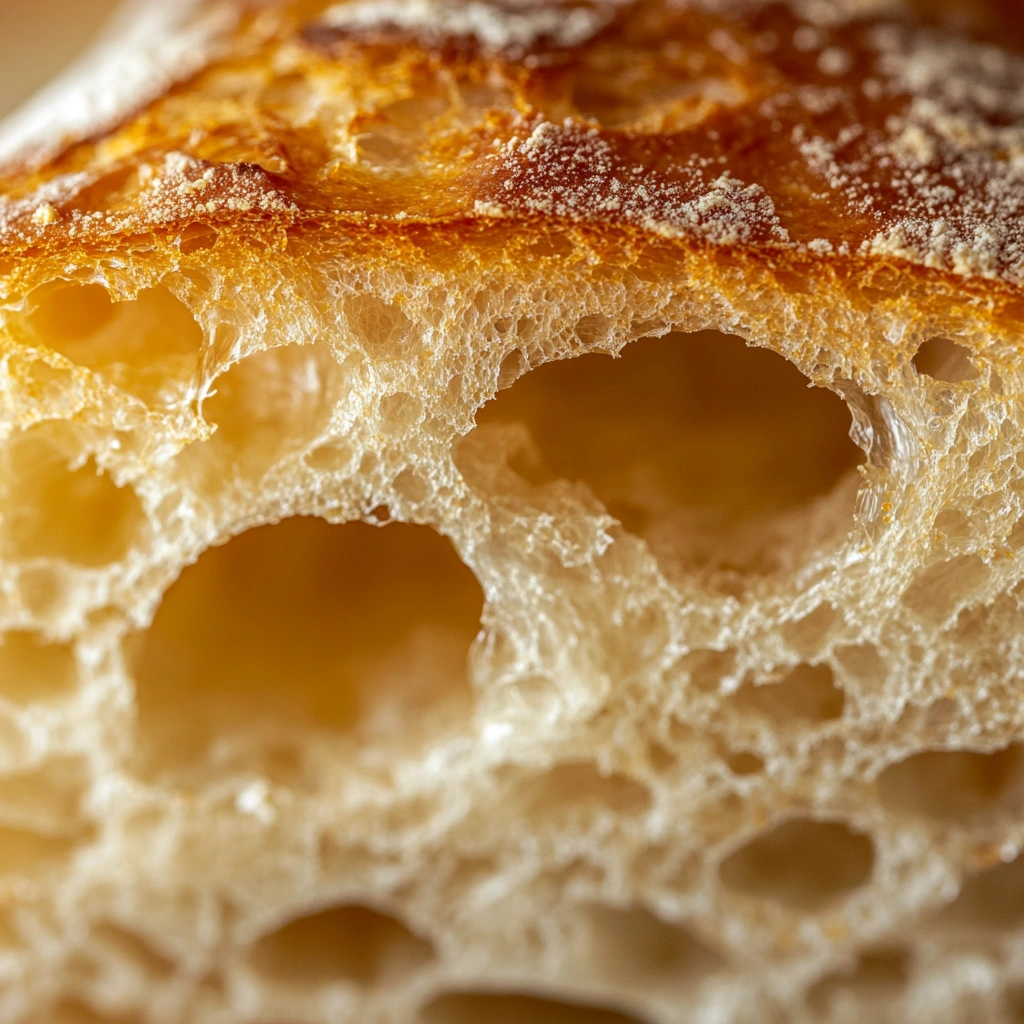
Sourdough bread has a unique and delicious taste that sets it apart from other types of bread. The natural fermentation process introduces a tangy flavor, and the texture—slightly chewy on the inside with a crisp, golden crust—will have your taste buds begging for more. Here are just a few reasons why this recipe is worth your time:
- Health Benefits: Sourdough is naturally fermented, which means it’s easier to digest and contains beneficial probiotics. The long fermentation process also lowers the glycemic index, making it a healthier option compared to commercial bread.
- Flavor Profile: The distinct tanginess and complex flavor of sourdough are unmatched. It’s a bread that can be eaten on its own or paired with a variety of dishes.
- Customizable: You can make your sourdough as simple or as intricate as you like. Whether you add herbs, seeds, or even mix in different flours, sourdough allows for endless experimentation.
- Homemade Satisfaction: There’s nothing quite like the feeling of baking your own bread. It’s rewarding and creates a sense of pride, especially when you taste the fruits of your labor.
Ingredients
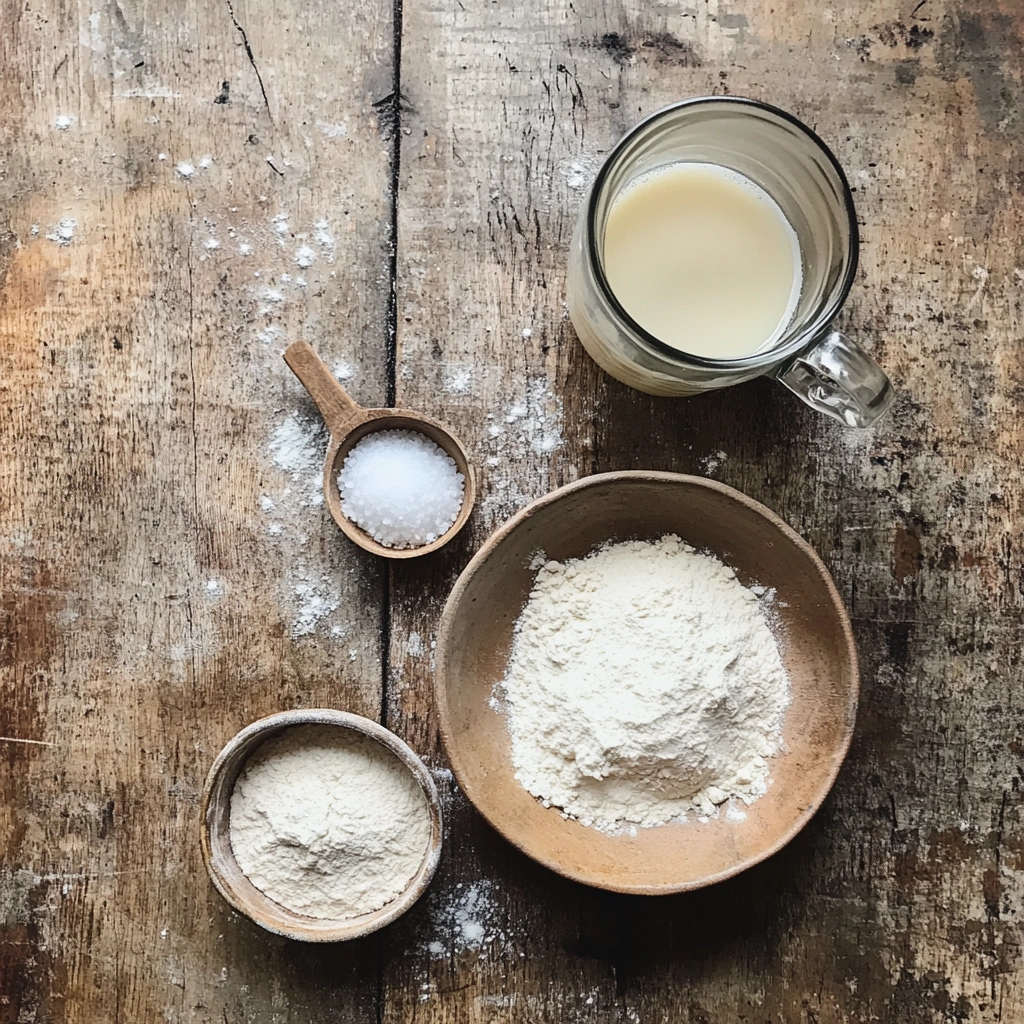
To make your sourdough bread, you’ll need the following ingredients:
- Sourdough Starter (if you don’t have one, it’s easy to make or you can buy it)
- 500g bread flour (high protein flour for better gluten development)
- 350g warm water (about 75°F)
- 10g salt (preferably sea salt)
- 100g sourdough starter (active and bubbly)
Necessary Tools for Sourdough Bread
While sourdough bread isn’t complicated, it does require a few key tools to make the process easier:
- Mixing Bowl: For combining your ingredients.
- Dutch Oven or Baking Stone: For creating the ideal baking environment that mimics a brick oven.
- Bench Scraper: To help with handling and shaping your dough.
- Digital Kitchen Scale: Accuracy is key, especially with sourdough bread.
- Dough Scraper: To help with turning the dough out and shaping it.
- Proofing Basket: To support the dough as it rises before baking.
- Sharp Knife or Razor Blade: For scoring your dough to allow it to expand properly while baking.
Ingredient Swaps and Additions
While this sourdough bread recipe is simple, there are a few ways you can customize it based on your preferences or dietary needs:
- Flour: If you don’t have bread flour, you can substitute with all-purpose flour, though the texture may differ slightly. Whole wheat flour can also be used for a denser, heartier loaf.
- Water: If you want a more flavorful loaf, you can use filtered or mineral water. Avoid chlorinated water, as it can interfere with the fermentation process.
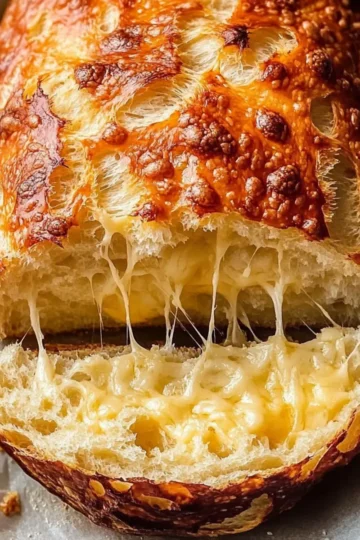
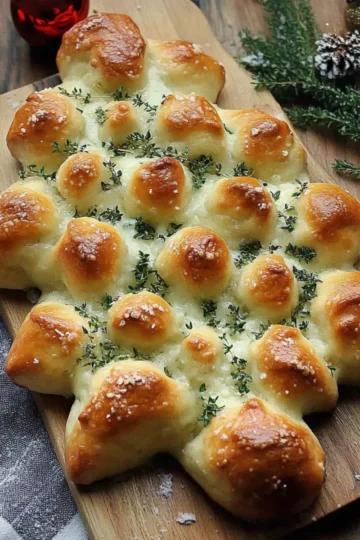
- Add-ins: Experiment with adding seeds (sunflower, pumpkin, or chia) or dried herbs like rosemary or thyme for added flavor. You could also incorporate a handful of olives, garlic, or even cheese for a twist.
Step-by-Step Instructions
1. Creating the Starter (If You Don’t Have One)
If you’re starting from scratch and need to create a sourdough starter, you’ll need to feed it daily for about 5-7 days. Mix equal parts flour and water (about 50g of each) and allow it to sit in a warm spot, feeding it with fresh flour and water every day until it becomes bubbly and doubles in size.
2. Mixing the Dough
Once your starter is active and bubbly, it’s time to make the dough. In a large mixing bowl, combine the flour, water, and sourdough starter. Mix with a spoon or your hands until all ingredients are combined and a shaggy dough forms. Let it rest for 30 minutes (this process is called autolyse).
3. Kneading the Dough
After the dough has rested, sprinkle the salt over the dough and knead it by hand or using a stand mixer. Knead for 10 minutes, or until the dough is smooth and elastic.
4. Bulk Fermentation
Place your dough in a clean bowl, cover it with a damp towel or plastic wrap, and let it ferment for about 4-6 hours at room temperature. During this time, perform a few sets of stretch-and-folds to help develop the dough’s gluten structure.
5. Shaping the Dough
Once the dough has fermented and has risen slightly, turn it out onto a lightly floured surface. Shape it into a round or oval loaf, depending on your preference. Use a bench scraper to help shape the dough without deflating it too much.
6. Proofing the Dough
Place the shaped dough into a proofing basket, seam side up, and cover it with a damp cloth. Let it rise for 2-3 hours or refrigerate it overnight for a slow fermentation (this adds flavor complexity).
7. Baking the Bread
Preheat your oven to 475°F (245°C) with a Dutch oven or baking stone inside. Once the dough has proofed, carefully place it into the hot Dutch oven or onto the baking stone. Score the top of the dough with a sharp knife or razor blade, making a few deep cuts to allow the bread to expand as it bakes.
Bake for 30-40 minutes, until the bread has a golden-brown crust. For a crispier crust, remove the lid of the Dutch oven halfway through baking.
Pro Tips for Success
- Use a digital kitchen scale: Weighing your ingredients ensures consistency and accuracy, especially with flour.
- Temperature matters: Make sure your dough is at the right temperature during fermentation. Room temperature water (around 75°F) will activate the yeast properly.
- Patience is key: Sourdough takes time to ferment and rise, so don’t rush the process.
- Make sure your starter is active: The key to great sourdough is a bubbly, healthy starter. If your starter isn't active enough, the bread will have poor rise and flavor.
- Score deeply: Scoring allows the dough to expand as it bakes, helping to achieve a beautiful, professional-looking loaf.
Serving Suggestions for Sourdough Bread
Sourdough bread is incredibly versatile. Here are a few serving ideas:
- Simple with Butter: Sourdough is delicious on its own with a pat of butter.
- With Cheese: Serve it with your favorite cheese, such as brie, cheddar, or goat cheese.
- In Sandwiches: Use it for sandwiches like classic turkey or even a vegetarian option with roasted veggies.
- With Soups and Stews: Tear it into pieces and serve with a hearty soup or stew for dipping.
Storing and Reheating
Store your sourdough bread in a paper bag or wrapped in a kitchen towel to maintain its crustiness. If you want to keep it fresh longer, you can freeze the bread for up to a month. To reheat, simply place slices in a toaster or warm them in the oven for a few minutes to restore their crispy exterior.
Nutritional Information
- Serving Size: 1 slice (50g)
- Calories: 120
- Carbohydrates: 25g
- Protein: 4g
- Fat: 1g
- Fiber: 1g
- Sodium: 250mg
FAQs - Sourdough Bread
- Can I make sourdough without a starter?
You can’t make true sourdough without a starter, but you can buy a ready-made starter or use a pre-bought sourdough starter from a store. - Can I use all-purpose flour instead of bread flour?
Yes, but bread flour gives a higher rise and a chewier texture due to its higher protein content. - How do I know when my dough is ready to bake?
It should have doubled in size and passed the "poke test." If you gently press your finger into the dough, it should slowly spring back but leave a slight indentation. - Can I make this recipe gluten-free?
Yes, but it requires a gluten-free starter and gluten-free flour blends. The texture and flavor will be different from traditional sourdough. - Why is my sourdough bread too dense?
This can happen if your starter wasn’t active enough, if the dough was overmixed, or if it didn’t rise enough during fermentation.
Conclusion
There’s something magical about the process of making sourdough bread from scratch. From creating your starter to baking the perfect loaf, every step is rewarding. While it does take time and patience, the end result is well worth the effort. You’ll be left with a flavorful, crusty, and chewy bread that’s perfect for any meal.

Leave a Reply